Monday, September 19, 2011


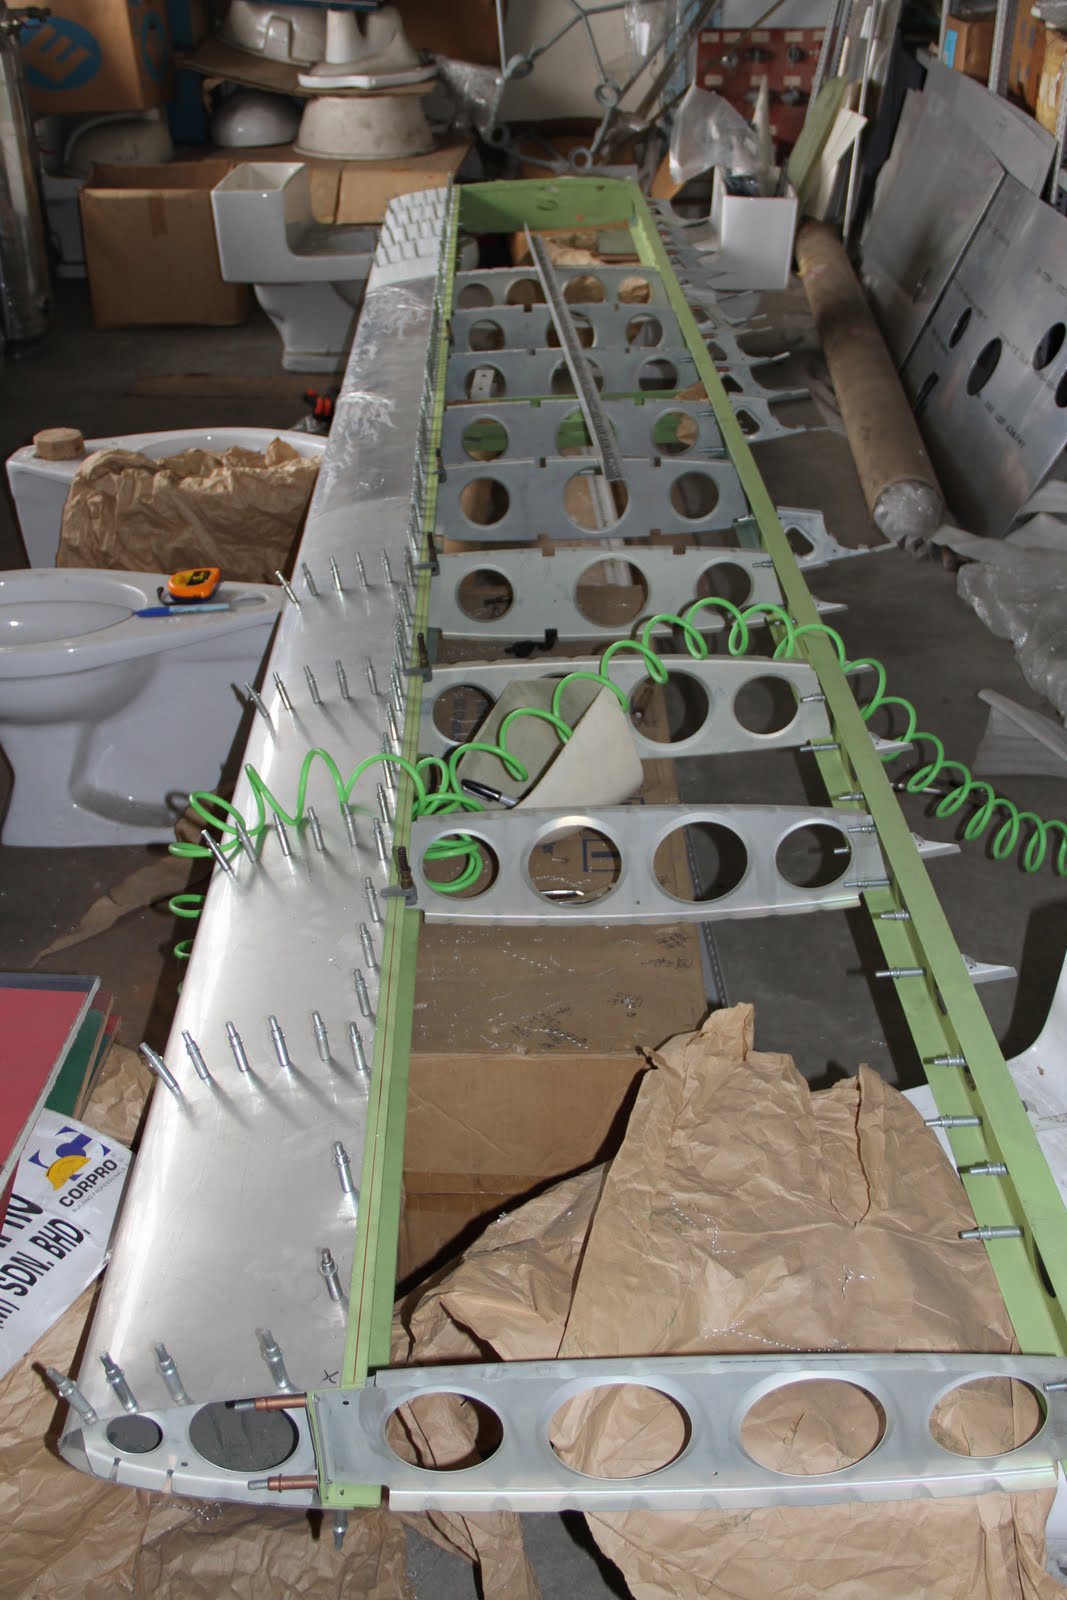
Finally, i tried to work on the inboard skin but alas there seems to be another alignment problem.The inboard end of the skin does not seems to align properly with the main root rib. I will try to figure that out one day. Next trip, i will work on the fuselage instead (to diversify or deviate a bit from the "troublesome" starboard wing. Do have a look at the fuselage that has been sitting there for at least 1.5 years after house renovation.


For cheap airfare tips ,please visit www.flytnc.com 
Or health tips , your one stop platform to longevity through healthy dieting and practices
For aviators out there ,please read my article on Life as an airline pilot for Singapore Airlines at the following domain...http://alturl.com/vp9ph


Working on the centre skin.


For cheap airfare tips ,please visit www.flytnc.com 
Or health tips , your one stop platform to longevity through healthy dieting and practices
For aviators out there ,please read my article on Life as an airline pilot for Singapore Airlines at the following domain...http://alturl.com/vp9ph


Drilling along the main rib follows..


For cheap airfare tips ,please visit www.flytnc.com 
Or health tips , your one stop platform to longevity through healthy dieting and practices
For aviators out there ,please read my article on Life as an airline pilot for Singapore Airlines at the following domain...http://alturl.com/vp9ph


I clecoed the outboard skin to the frame before drilling the rivet holes after checking the alignment.


For cheap airfare tips ,please visit www.flytnc.com 
Or health tips , your one stop platform to longevity through healthy dieting and practices
For aviators out there ,please read my article on Life as an airline pilot for Singapore Airlines at the following domain...http://alturl.com/vp9ph


All three inboard,centre and outboard leading edges are drilled at the spar and rib except for the centre one due to difficulty in aligning the pilot holes along the rib (next photo shows both the inboard and outboard leading edges are removed for this purpose)


With the centre and inboard leading edge clecoed and clamped properly, the rivet holes are drilled .


With a week off early Sept 2011, i continued on with my long neglected project. Here i am seen working on the leading edge of the starboard wing.

Tuesday, August 23, 2011

My 9M-TNC !!!


Seeing is believing. Seen here inside Executive Jet's hangar in Ipoh with my newly converted Malaysia registered 9M-TNC. Just dropping by to hand Dorai, the manager a new aircraft battery and blue Piper premium towbar as well.My lovely wife, Connie took this photo.


For cheap airfare tips ,please visit www.flytnc.com 
Or health tips , your one stop platform to longevity through healthy dieting and practices
For aviators out there ,please read my article on Life as an airline pilot for Singapore Airlines at the following domain...http://alturl.com/vp9ph


With all drilled up , i clecoed the leading edge back to the wing frame .Yes, at least now, the bottom rivet pilot holes now aligned properly. Although the top rivet holes are slightly out, i figure out once they are drilled with larger drill bits , things will come back in place. Will start drilling more in mid Sept 2011 when i drive back to KL again.


Meticulously measuring both bottom and top nose leading edge, i drilled with a long L shaped beam clecoed for good alignment.


Spot my new green compressor tubing!!!

Alignment issue solved


First of all my apology for not posting for awhile. Been busy with engaging Executive Jets from Ipoh to handle application for 9M-TNC (from 9V-BOJ)..finally Certificate of Airworthiness is almost granted by DCA short of having ELT registered in Malaysia and obtaining the latest revision 8 for aircraft flight manual. With only 2.15 hrs left after the required flight test,my aircraft is grounded for at least another 3 months as the engine needs to be overhauled in Corona,California. Now gotta sort out all the shipping requirement etc..
By the way, the photo attached shows the forward leading edge of the starboard(i believe)wing being riveted "out of the box" in order to solve the alignment issue. I even have to purchase a new compressor tube(green colour) after finding my older orange tube failing countless time with cracks everywhere virtually.

Wednesday, December 02, 2009

25 Nov 2009 :I flipped over the wing to align the lower leading edge to the rivet line already drawn on the lower spar.
Unfortunately, the inboard and centre leading edge's rivet holes did not quite align properly. I gave up at this
point. Suspect drilling bits need to be cleaned off underneath the leading edge and more adjustment to ensure proper alignment before drilling next time. On this trip back to KL, the battery inside my digital leveler was flat so one day was wasted as i called it a day earlier since no alignment means no drilling.
Posted by Picasa
View of all the leading edges drilled to the forward spar of the starboard wing.
Posted by Picasa
Followed by of course the inboard leading edge...
Posted by Picasa
Next, the centre leading edge was drilled.
Posted by Picasa
Close up view of me drilling as a proof.
Posted by Picasa
A top view of the outboard leading edge after a few drilling.
Posted by Picasa
First of all, my deepest apology for not updating and attending to my project for sometime.
Recent purchase of a house in Nelson, New Zealand in July 2009 and final settlement in
September really kept me really busy. Anyway, here on 25 nov 2009, i continued to drill
the outboard leading edge to the forward spar of this starboard wing.
Posted by Picasa

Sunday, March 08, 2009

Sidetracking, i found the animation below very interesting for my upcoming iphone application.
More info abt it when i get it done successfully.

Genie Disney Aladdin Animated Avatars

Friday, February 20, 2009

I notice that abt 3 flap cove ribs have been missing or misplaced (something i need to sort out before i proceed further)
Posted by Picasa
Now onwards with the starboard wing
Posted by Picasa
Posted by Picasa
Done
Posted by Picasa
Disassembling the left wing in progress...
Posted by Picasa
I flipped over the flap right side up to drill the upper front spar
Posted by Picasa
Mission almost accomplished..
Posted by Picasa
14 Feb 09 : Notice i have now used a different battery powered drill ? My dad's Ryobi drill went up in smoke yesterday. Sigh!!!
Posted by Picasa
13 Feb 2009 : Happy New Year !!! I know i have abandoned my project for some time now..Sorry.
Now , continuing on where i left i.e. the starboard flap
Posted by Picasa
With the bottom front and aft spar drilled, the main ribs in between are drilled as well.
Posted by Picasa
Back on drilling the bottm front spar of starboard flap.
Posted by Picasa